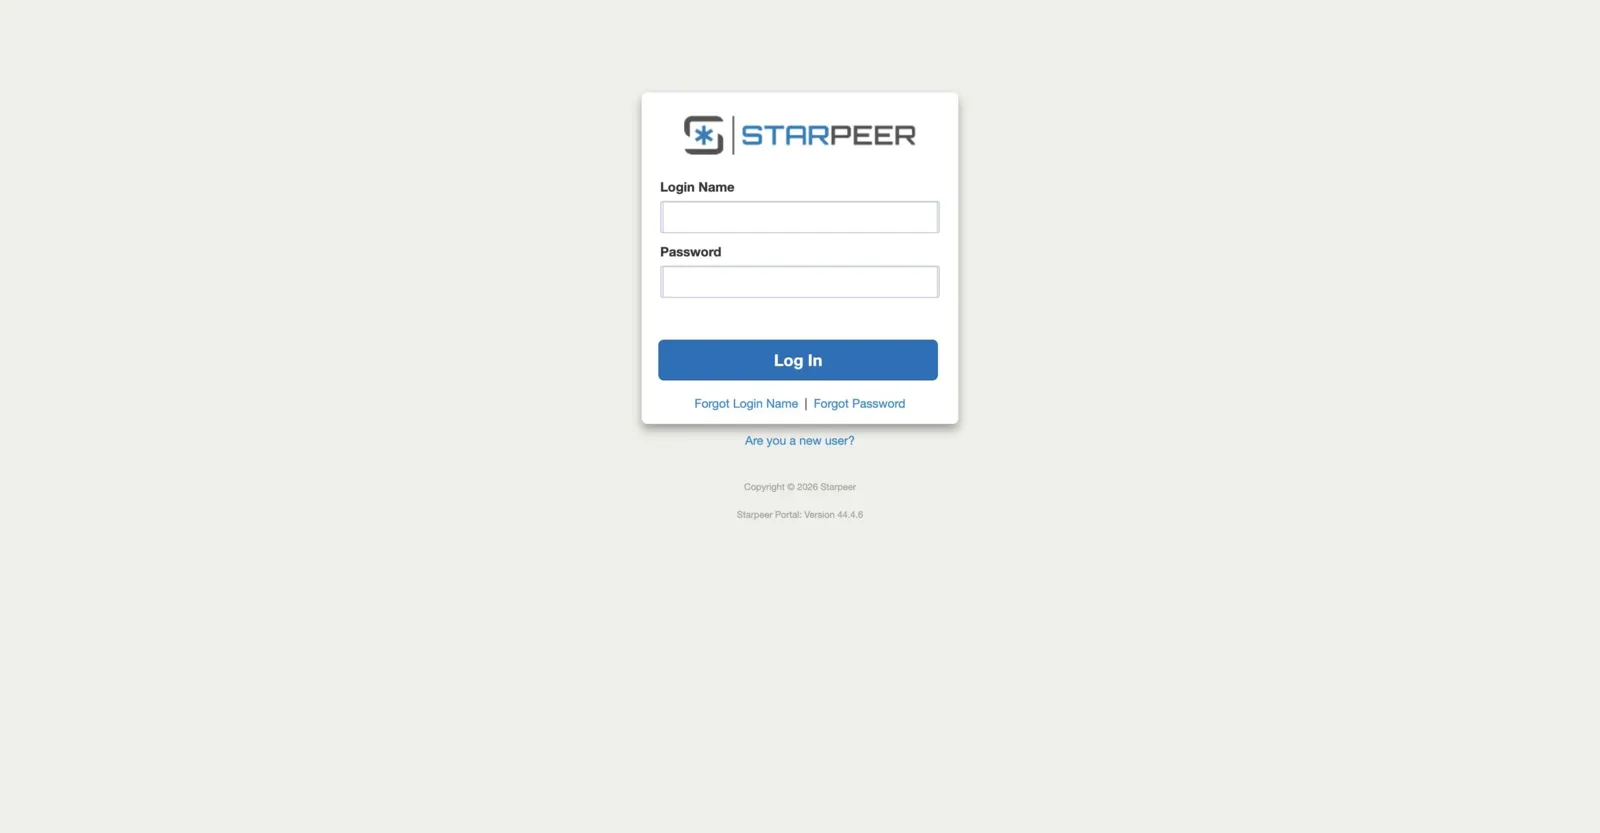
Log in at spvoice.starpeer.com
Open a browser and go to spvoice.starpeer.com. Use your Starpeer phone-system username and password, then sign in.
Starpeer · FaxEdgespvoice.starpeer.com
Receive, review, forward, and send faxes from the same place you manage your phone. Real screens, in the order you will use them.
Section 1 · Getting there
Fax lives inside the phone portal. There is no separate fax login.
Step 1 of 2keep scrolling to advance
Open a browser and go to spvoice.starpeer.com. Use your Starpeer phone-system username and password, then sign in.
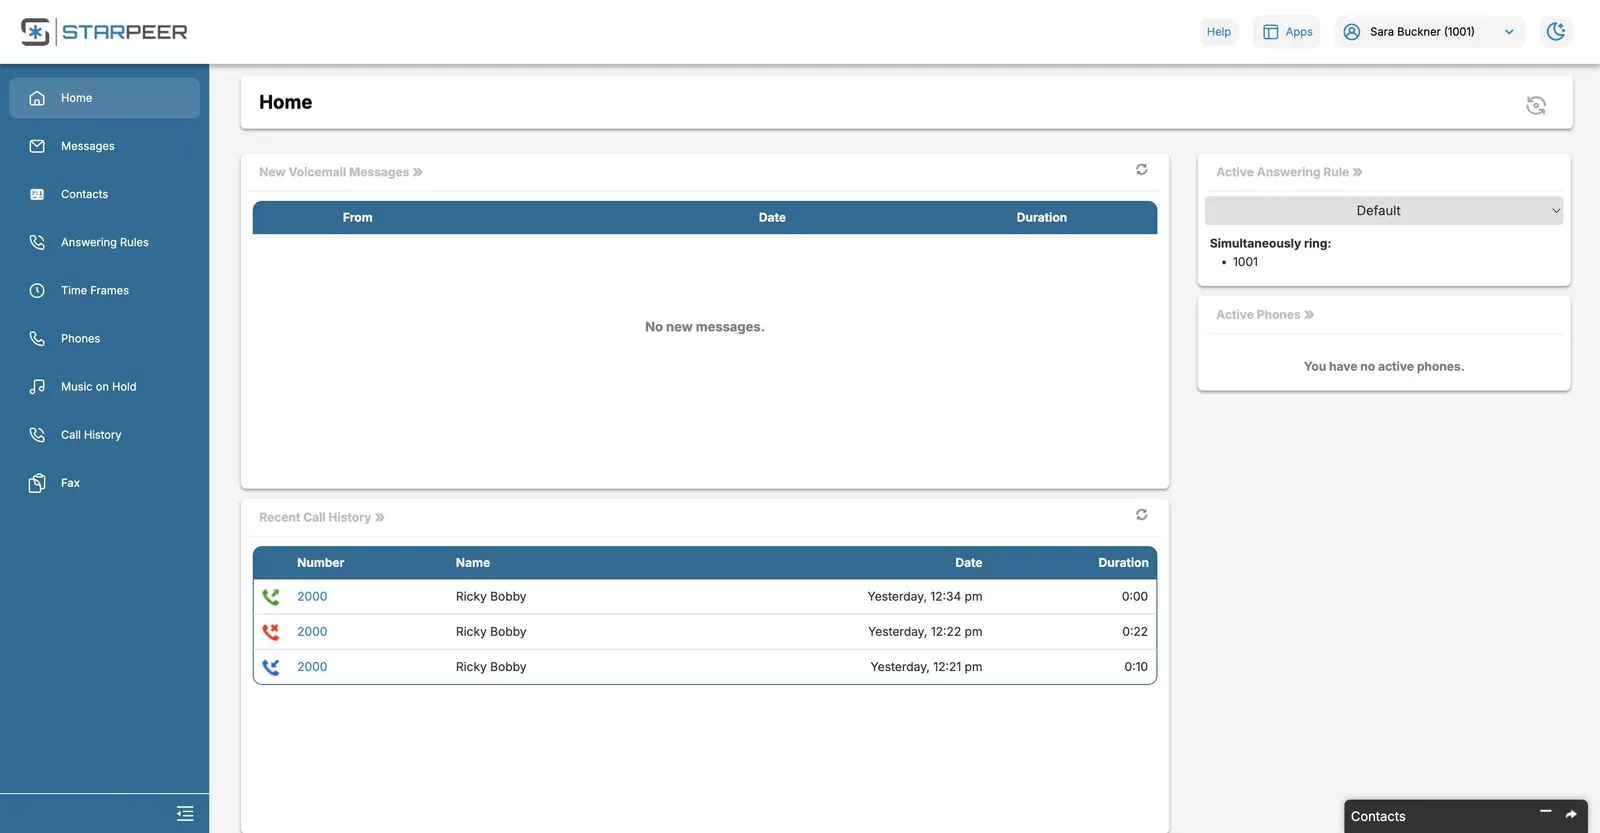
After you log in, Fax is the last item in the menu on the left side of the screen. Click it and the Fax page opens on your Inbox.
For administrators
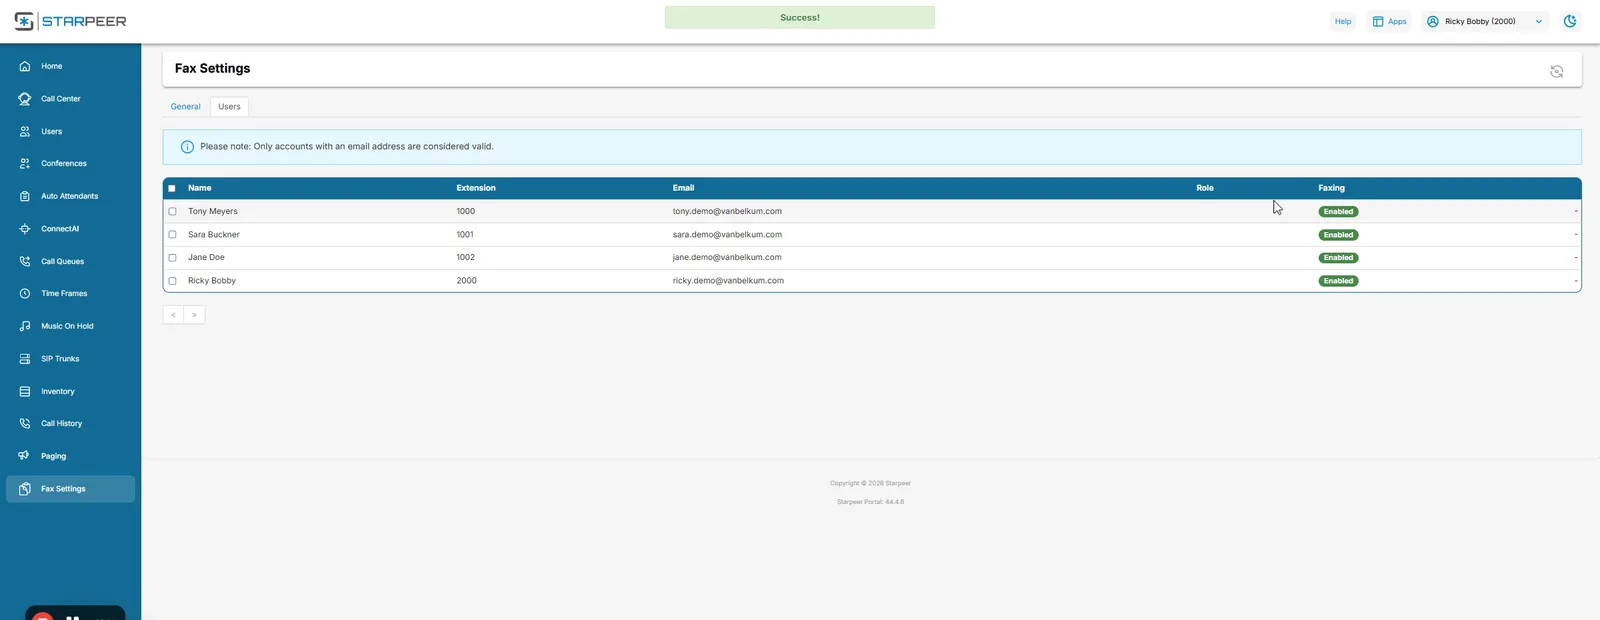
In the admin view, Fax Settings is at the bottom of the left menu. That is where you give a user access to fax, or disable it.
Click the drop-down next to your name at the top of the screen and choose My Account. The menu switches to your own user view, and Fax appears on the left. Follow the rest of this guide from there.
Click Manage Organization at the top of the screen to return to the admin view.
Admin screens are from an administrator's session; the demo account used for the rest of this guide is a standard user.
Section 2 · Inbox and Sent
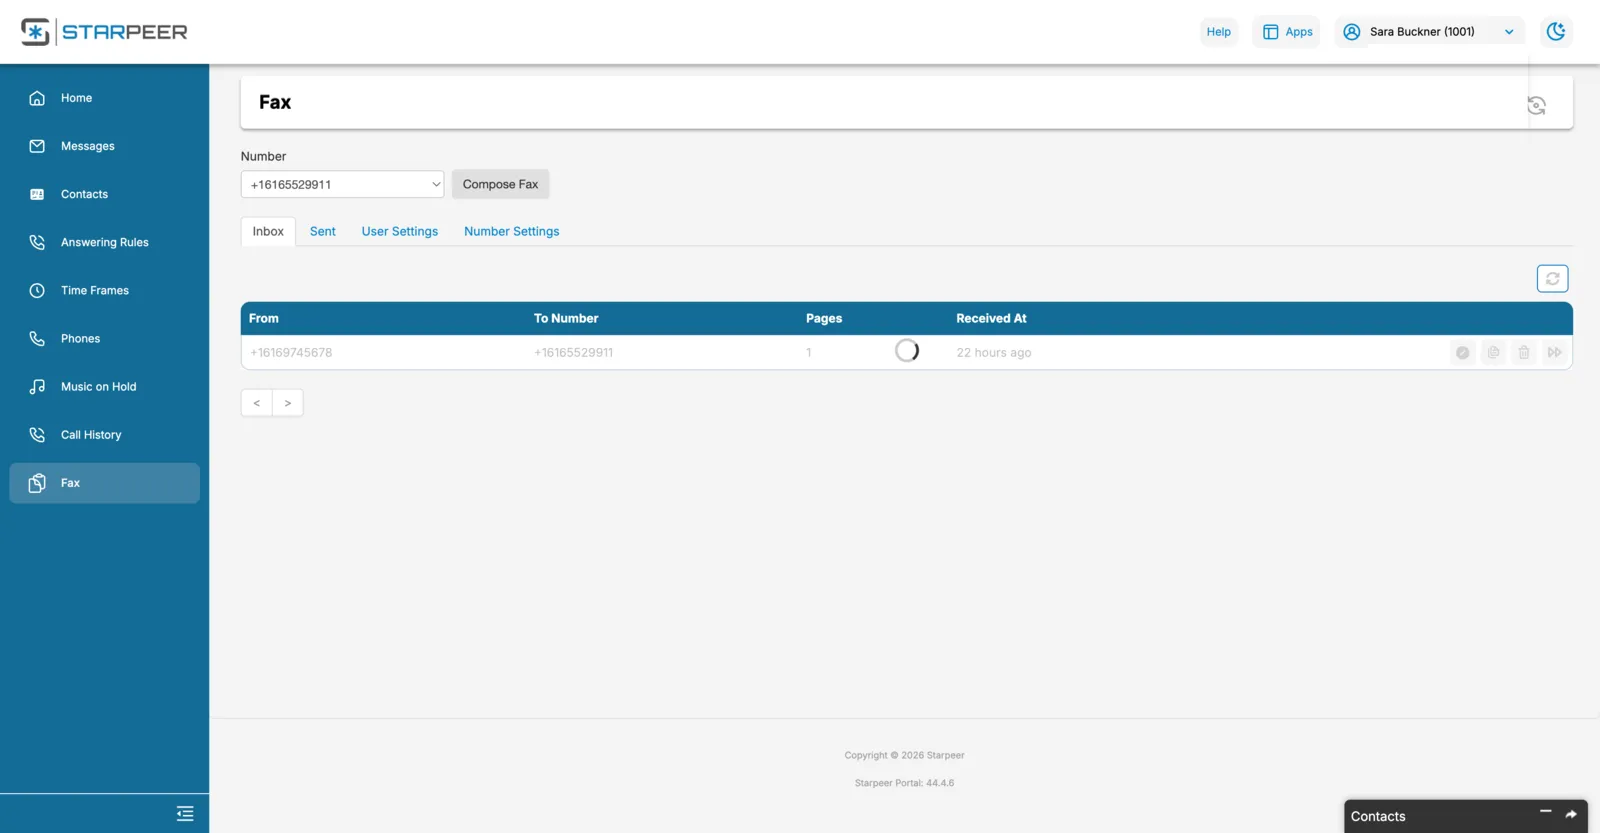
Each fax in the Inbox has three actions on the right of its row.
Step 1 of 4keep scrolling to advance
The Fax page opens on Inbox. Each received fax is a row: who it came from, the number it was sent to, page count, and when it arrived. If you have more than one fax number, the Number drop-down above the tabs switches between them.
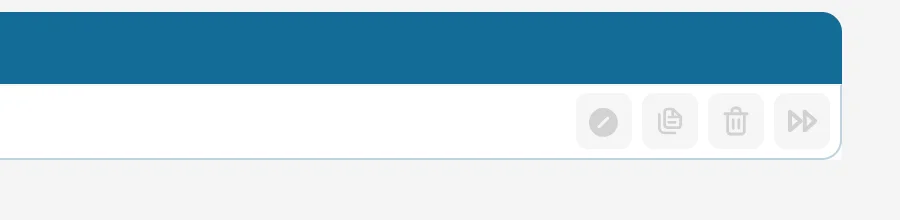
At the right end of each row: the paper icon previews the fax, the trash can deletes it, and the forward arrows send it on.
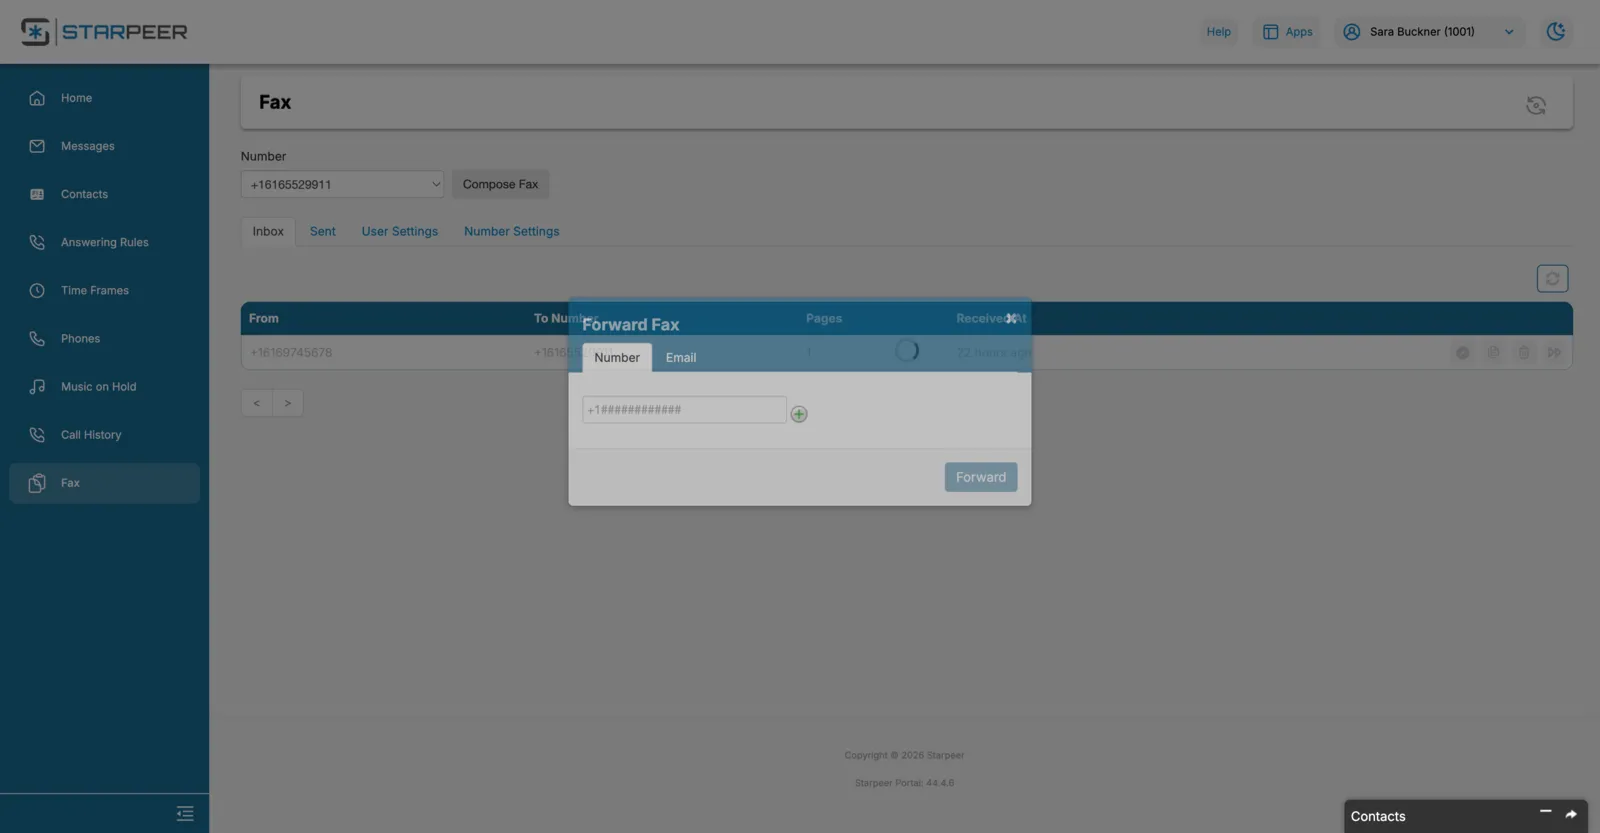
The Forward dialog has two tabs. Number sends the fax to another fax number. Email sends it as an attachment to an email address. Fill in the destination and click Forward.
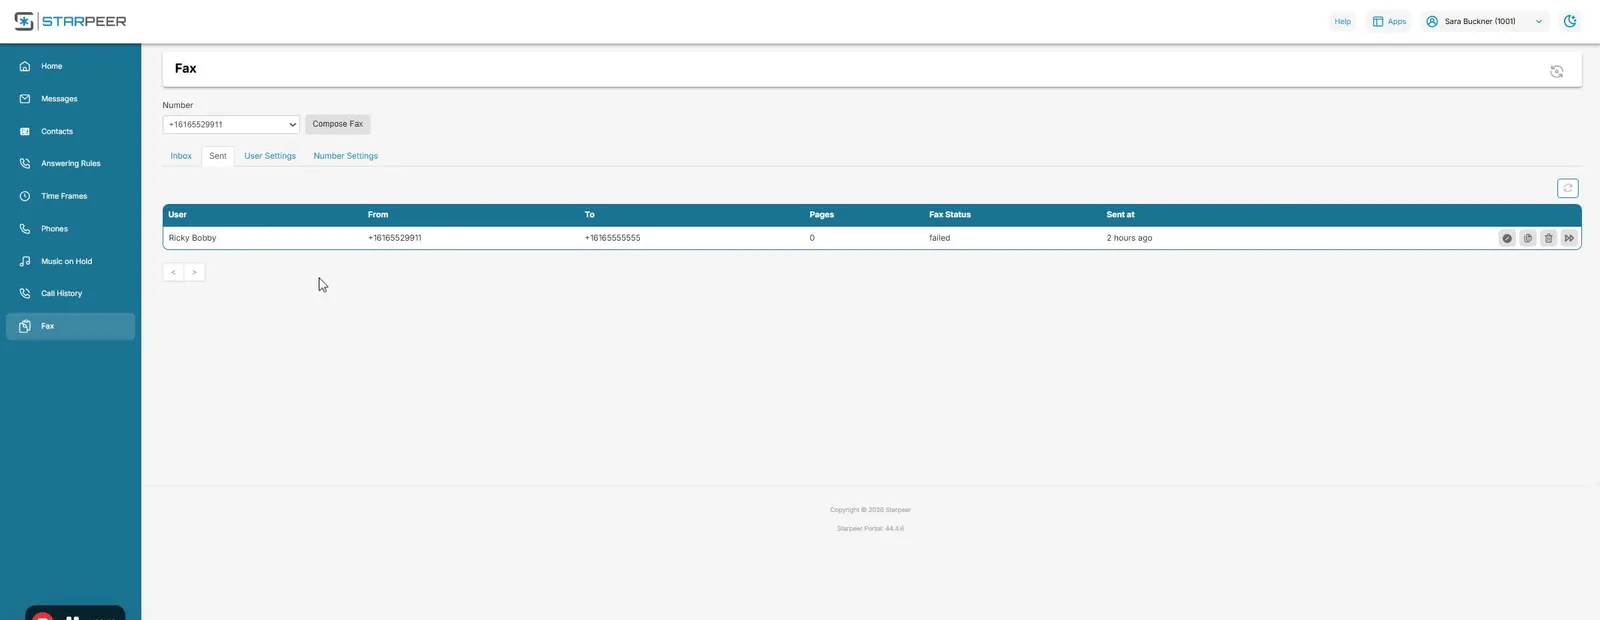
Click the Sent tab next to Inbox. It lists every fax you have sent, with its Fax Status, so you can confirm a fax went through or see that it failed.
Section 3 · Settings
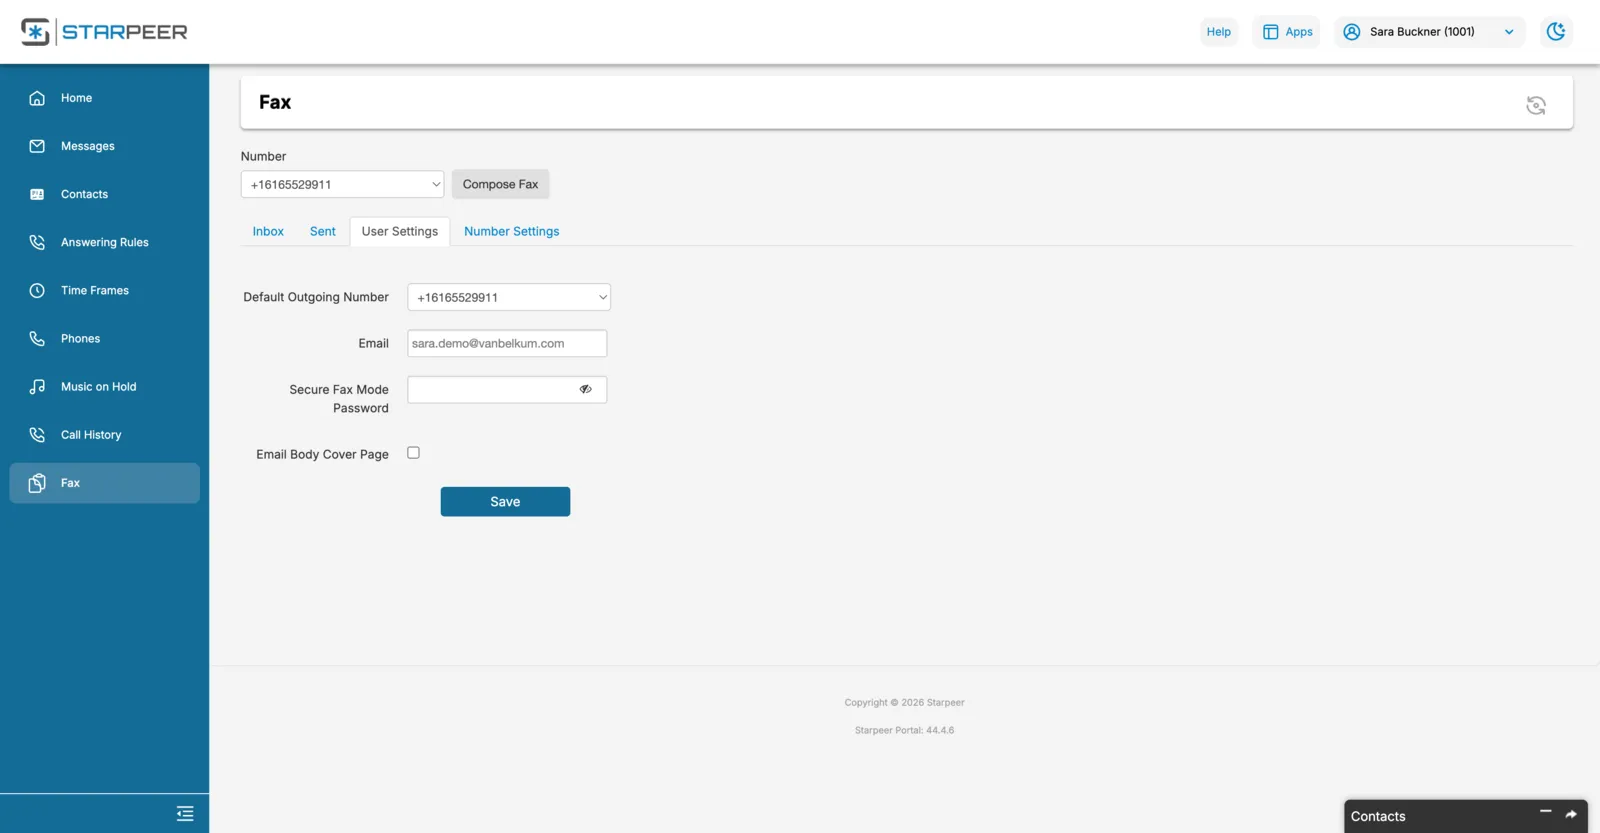
Two tabs, two jobs. Both end with Save.
Step 1 of 2keep scrolling to advance
If you are assigned more than one fax number, choose the one to send from by default under Default Outgoing Number. Click Save.
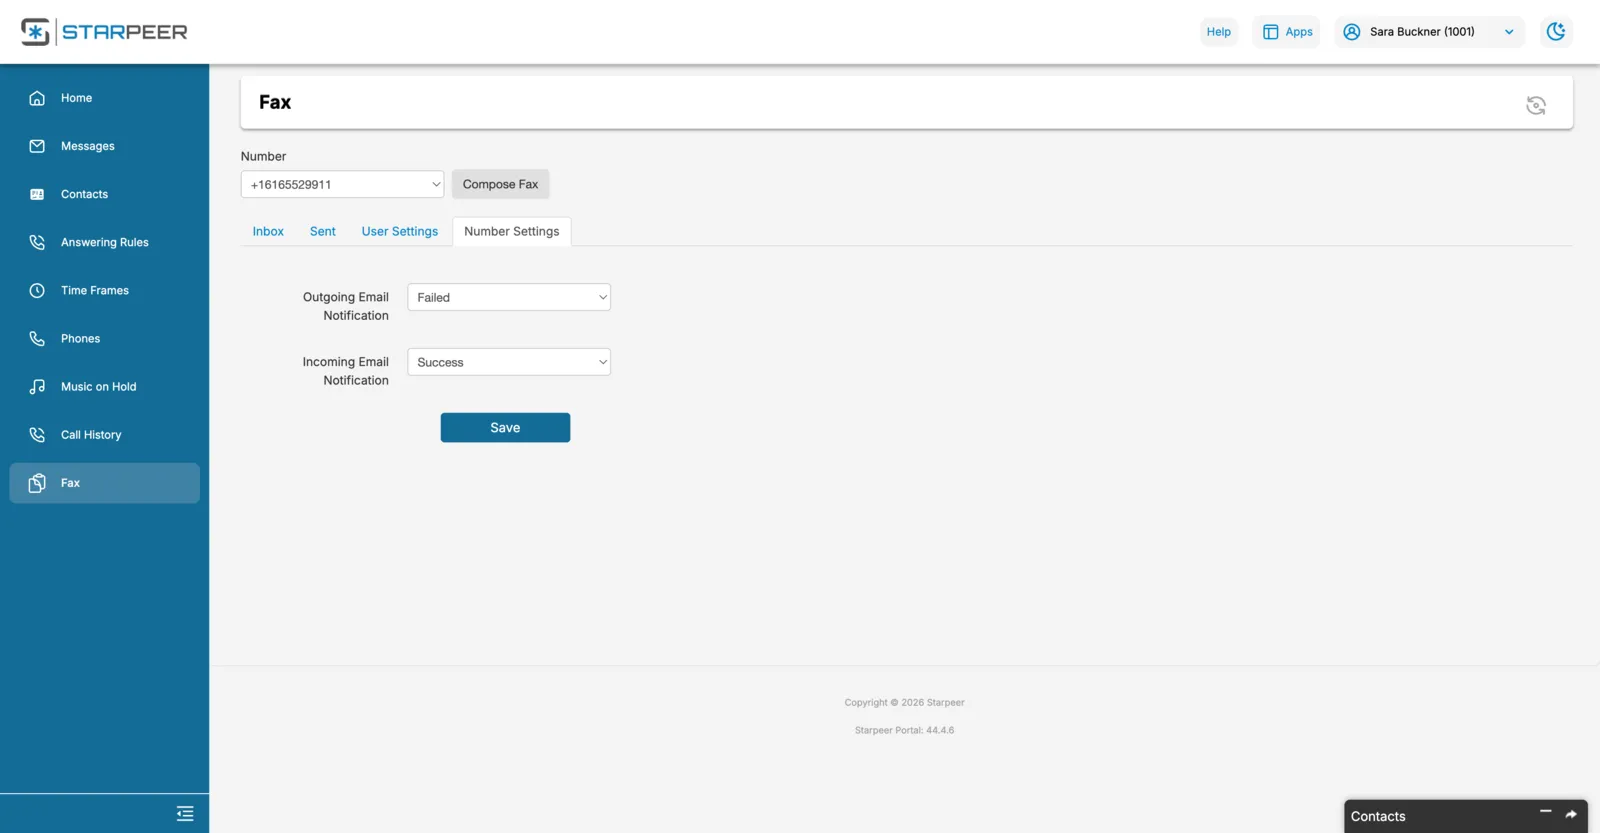
Outgoing Email Notification and Incoming Email Notification control when you get an email about a fax. You can be notified for all activity or, where available, only for failed faxes. Click Save after any change.
Section 4 · Send a fax
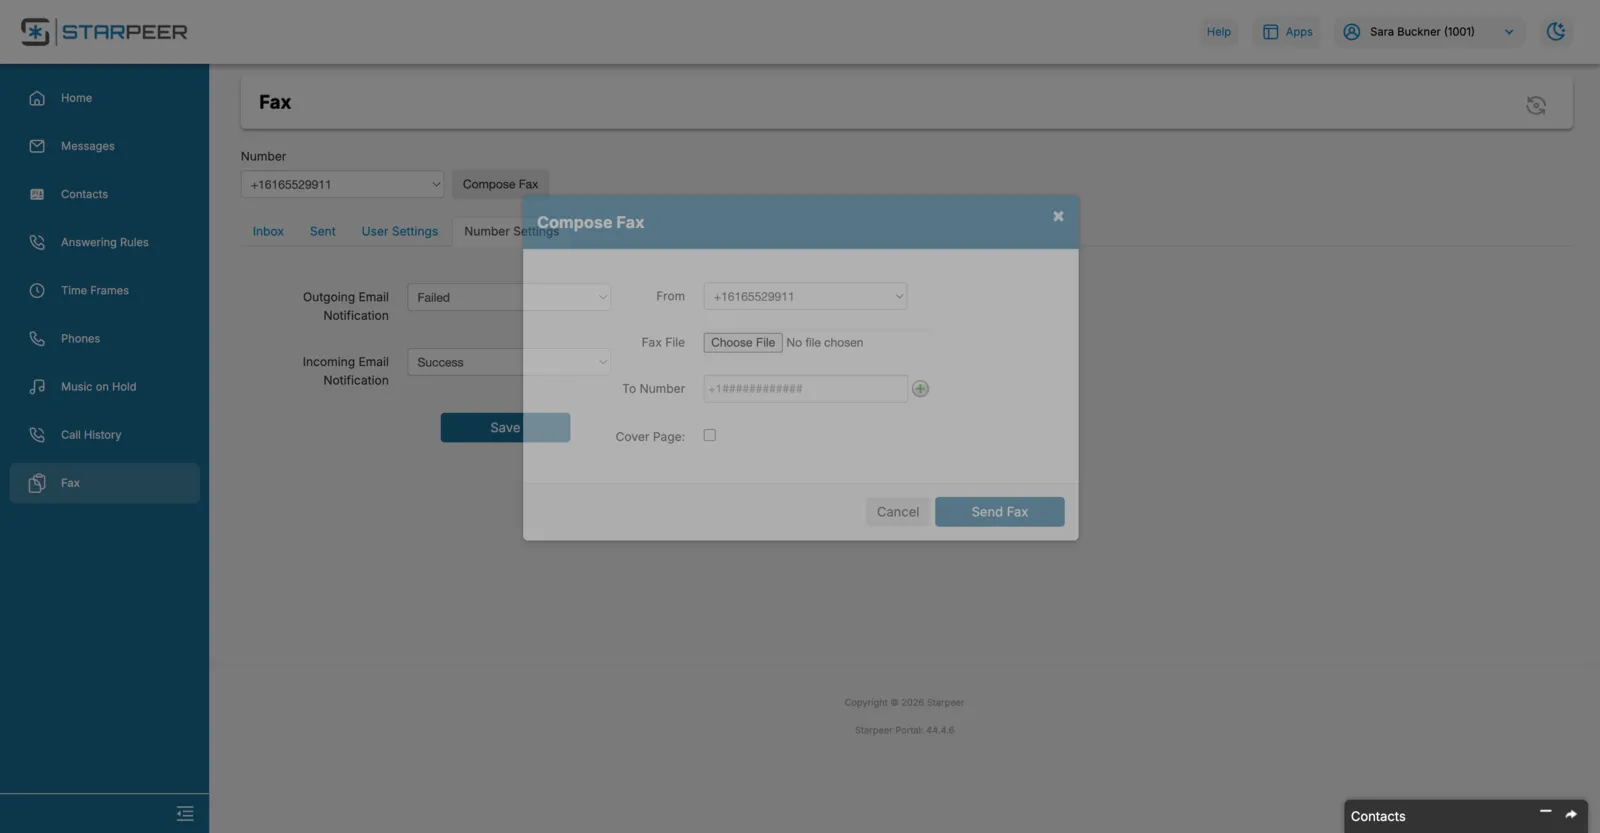
One dialog: pick the number, attach the file, enter the destination.
Step 1 of 1section complete
The button sits next to the Number drop-down. If you have several fax numbers, choose the one to send From. Attach the document under Fax File, type the recipient's fax number under To Number, tick Cover Page if you want one, and click Send Fax. Watch the Sent tab for its status.
Quick reference
If you cannot log in, cannot see your fax number, or a fax keeps failing, contact VanBelkum Support.